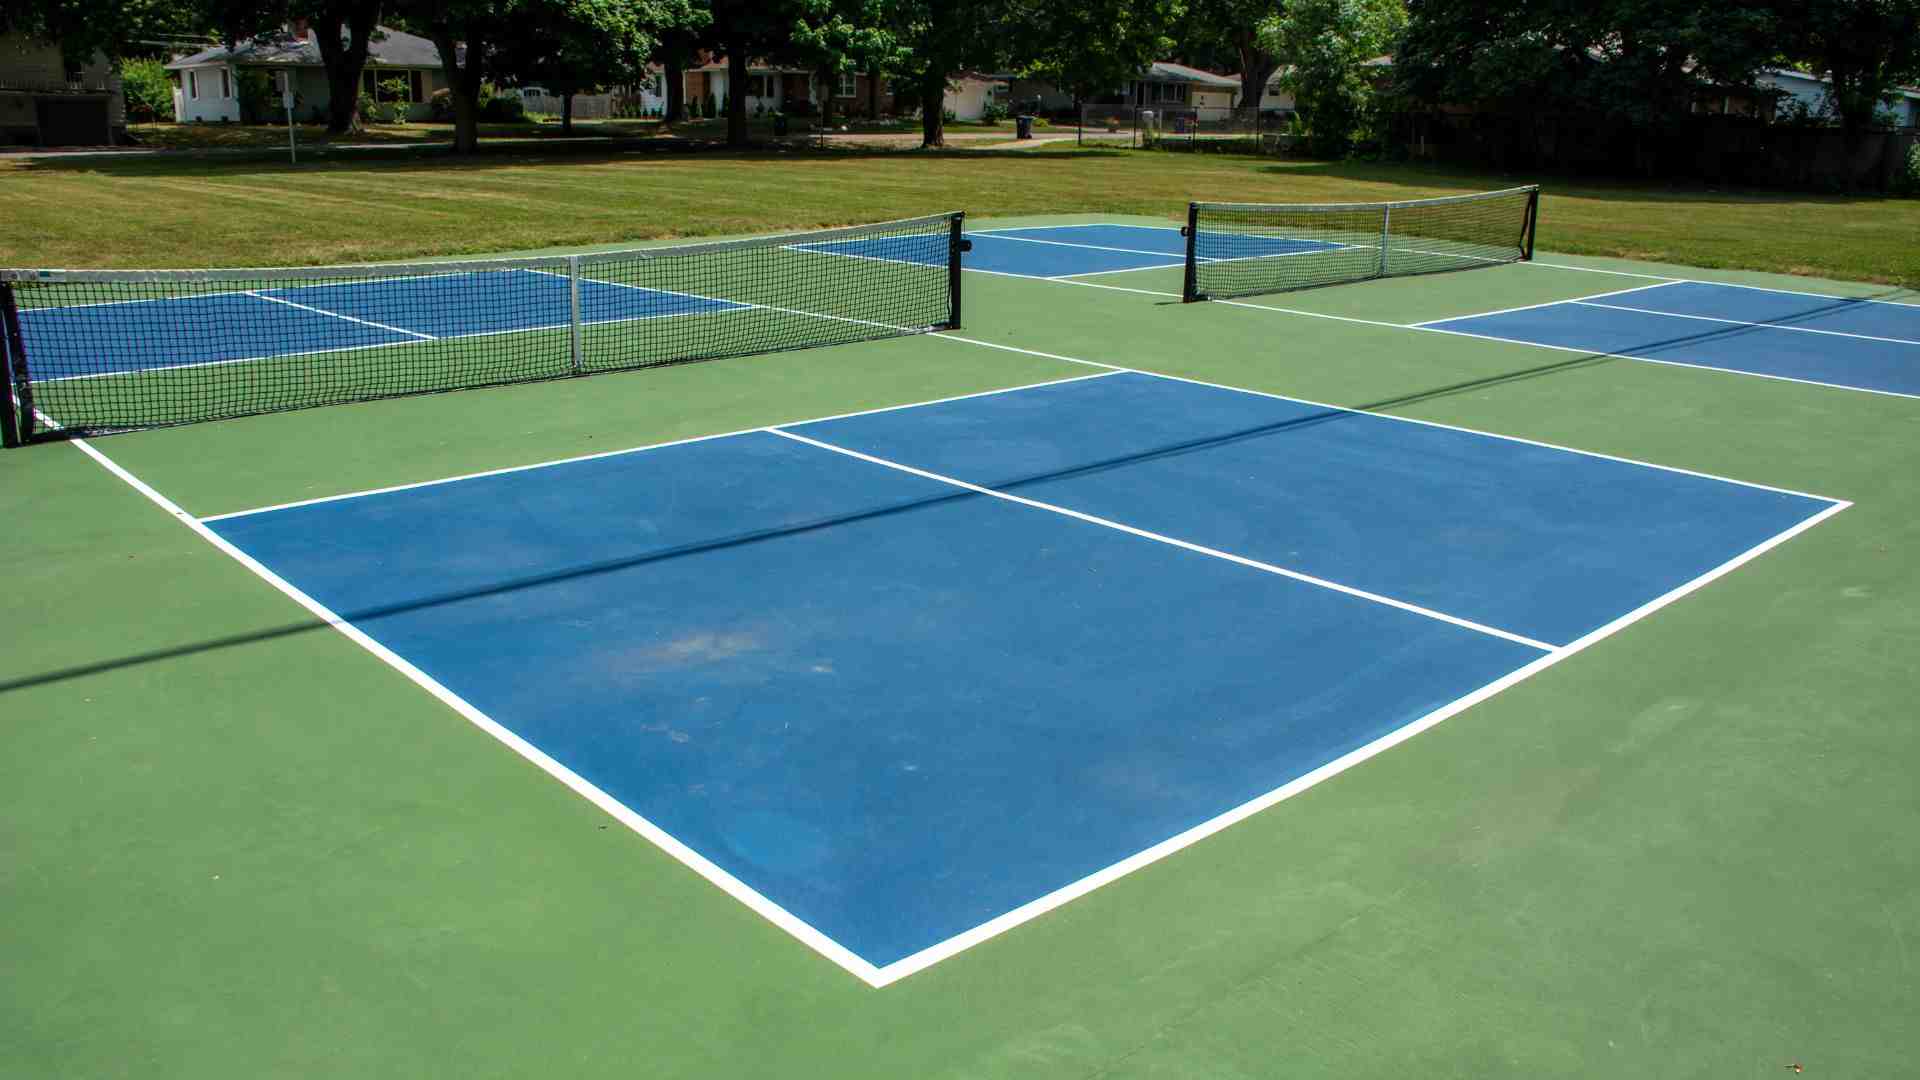
Pickleball’s popularity is increasing day by day and you may want to try it out sometime but a proper pickleball court is something you may be missing out on. You can have your pickleball court at any time and any place, just by the use of pickleball court tape.
To set up pickleball court tape, you’ll need an open hard surface of concrete or asphalt. Then mark the dimensions of the court. Start using tape for the pickleball court first on the baselines, then the sidelines, and finally service box lines.
Don’t let improperly marked pickleball court tape outdoors ruin your gameplay. Check out our detailed and easy-to-follow guide on how to tape a pickleball court and ensure a fair and fun game for all.
Things You Need For Pickleball Tape Lines
- Pickleball court tape: 200 inches long roll of outdoor pickleball court tape or gaffer’s adhesive tape in a bright, contrasting color, such as white or yellow so that pickleball tape is easy to see and distinguish from other lines.
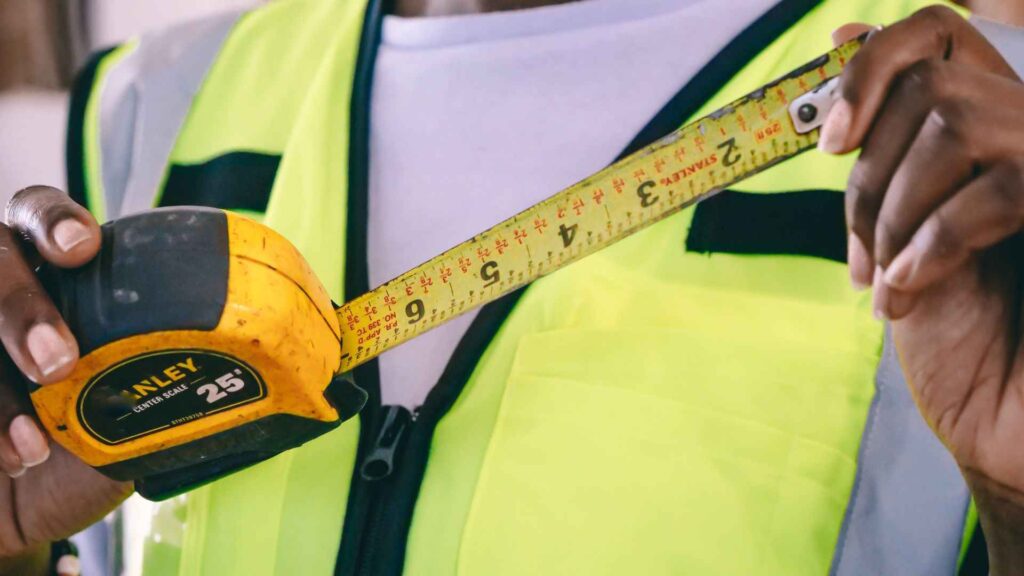
- Measuring tape: To ensure that the court lines are straight with right angles and the right length, you will need a 3 x 25 inches auto lock tape measure.
- Chalk or marking paint: If you are marking out outdoor pickleball tape on a surface that is not already marked, you may need to use chalk or marking paint to create a temporary guide for the pickleball tape.
- Pickleball court dimensions: Be aware of the official dimensions of pickleball courts, which are 20 feet wide by 44 feet long in the case of doubles and singles pickleball.
- Court layout plan: It can be helpful to have a pickleball court layout plan to follow, which shows the exact placement of the pickleball court line tape and the dimensions of the court.
- Helping Hands: Marking out a pickleball court line tape can take a lot of time & effort, and it is important to take someone to help you and save time so that you can be precise in your measurements and placement of the pickleball line tape.
1. Find A Place
Always go for an area that is easy to clean and execute. Choose an area with hard surfaces made from concrete or asphalt to ensure the best tape for the outdoor pickleball court is placed on the surface perfectly.
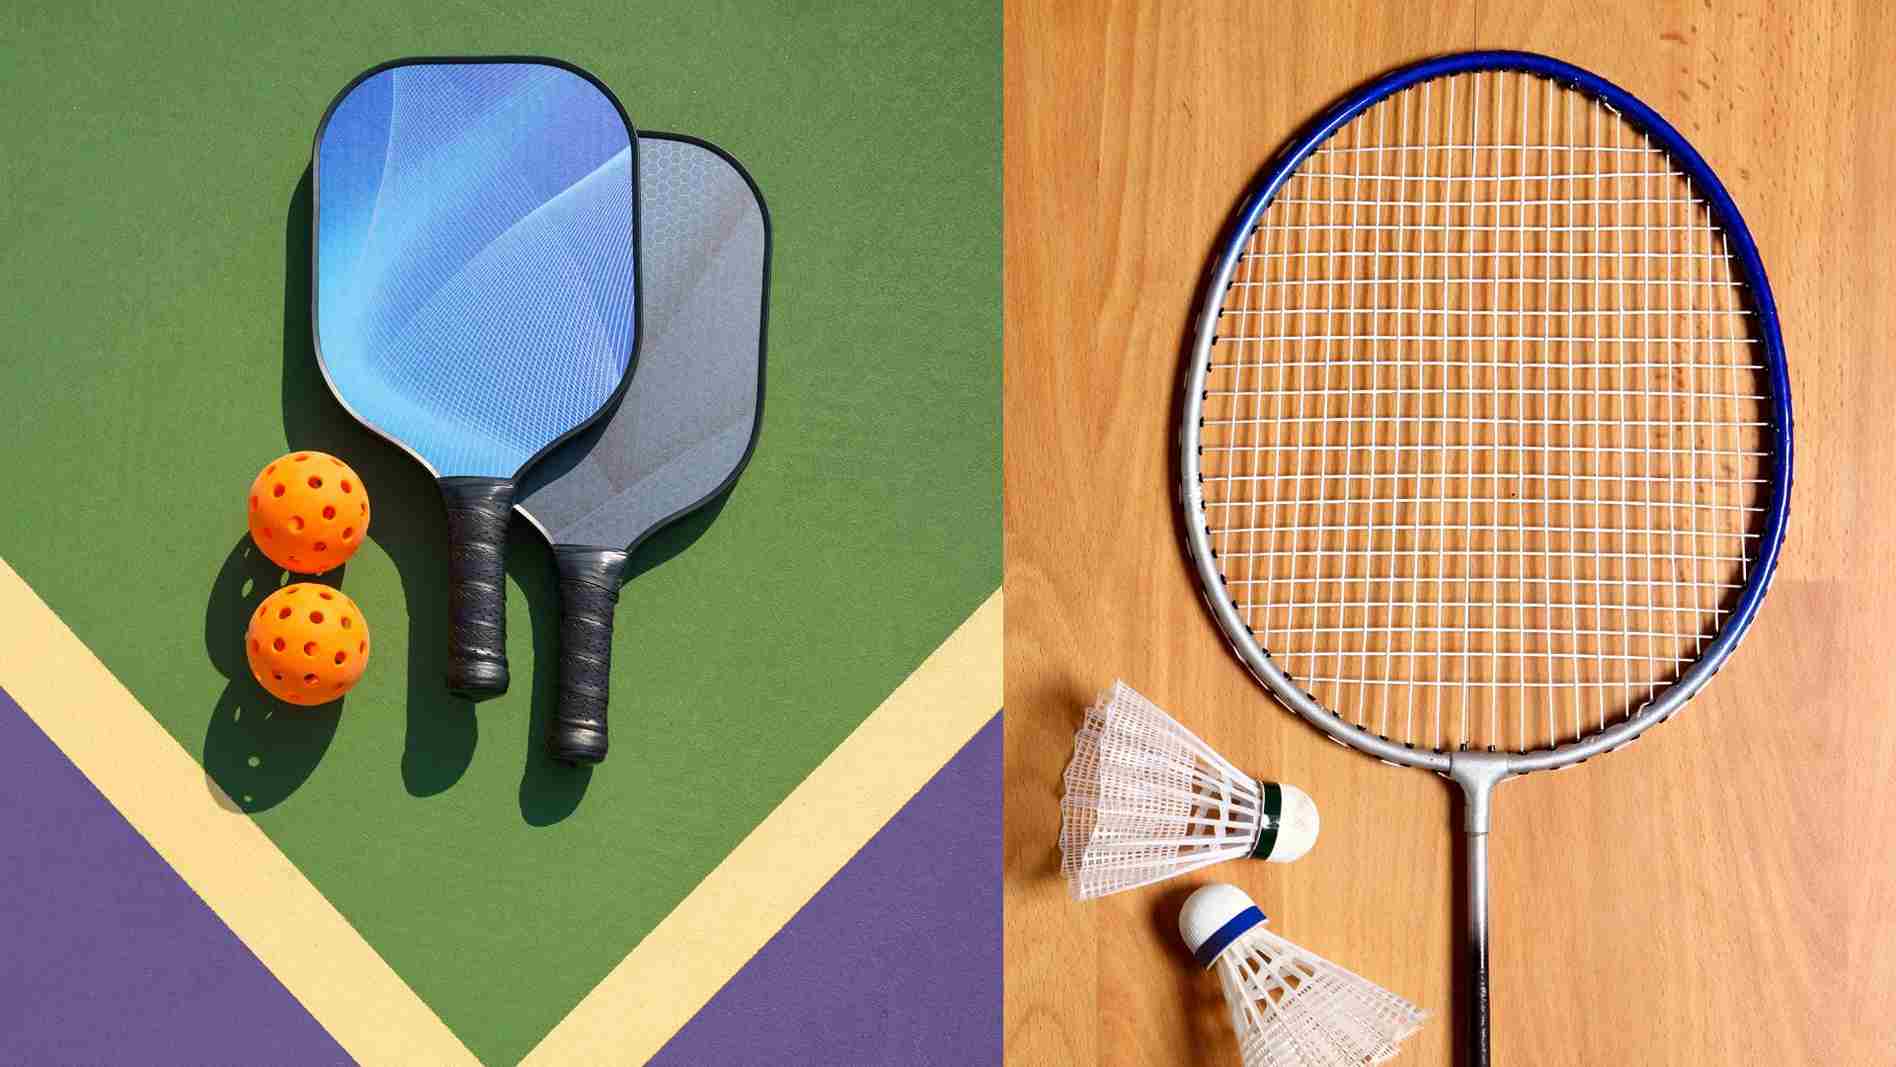
You can set up pickleball tape lines on a badminton court more effectively because of the same sizes of the court. So, if you have a badminton court around you then just cover the pickleball line tape on the non-volley zone lines and you’re ready to go.
Always look for places in your community that are underutilized and are rarely used to play your game without any interruption and without using someone’s private land.
2. Measure and Prepare the Surface
Using a tape measure, measure out the dimensions of the court. A pickleball court is 20 feet wide by 44 feet long. Mark the corners of the court with chalk or masking tape.
It is very important to clean and blow off unwanted materials such as sand and other debris from the playing surface before you start using the pickleball court tape.
By doing this, the pickleball tape will adhere better and last for a longer period of time to the asphalt surface.
3. Place Tape For Pickleball Court Along Sidelines
Choose a spot where you want your pickleball net to be placed. Mark the net center and measure 10 feet away from it toward the other net positions.
Both sides of the pickleball line tape should be marked with chalk or painter’s tape. Exactly 20 feet should separate these marks.
It is here that the outer sidelines of the court will be located. Starting at one corner of the court, place the tape along the sideline, measuring 22 feet in length to the baseline.
Repeat this process on the other side of the court. Take a tape measure, begin to mark the other sideline line, and pull the tape measure out 22 feet parallel to the first sideline mark that you made earlier with chalk or painter’s tape.
Use a straight edge or level to ensure that the tape is straight and even.
4. Place Pickleball Tape Along The Baseline
At the end of the sideline, take another tape measure and measure as far as you can across, 20 feet in order to form the baseline.
It should be measured with this tape perpendicular to the first tape that was measured for the sidelines.
To ensure that the tape measures meet at right angles at the baseline, you should straighten them out.
You should be able to get approximately parallel lines for outdoor pickleball tape if you lock the lengths of the three tape measures to the right angles.
5. Use Pickleball Tape On Non-Volley Zone Lines
Once you’ve traced the sidelines and baseline, move the pickleball court line tape on the baseline and measure up so that it’s precisely under the 7-inch line from the sidelines tape measure.
This will be the baseline of the non-volley zone or kitchen area.
It is now simply a matter of laying down the tape along with making sure the outer edge of the tape lines up with the chalk marked earlier.
Ensure that the outside lines, the baseline, and the non-volley zone lines are all taped.
The last step is to divide the back of the court by connecting the two center marks you made on the kitchen line and baseline.
Use the best pickleball tape and pickleball court markers to mark the lines and once you’re done with all this make sure to mark the lines for the spot where you will place the portable net of the court.
Tips for Using Tape For Pickleball Court
- Always use the best tape for outdoor pickleball court, which is designed to withstand the wear and tear of gameplay.
- Make sure the tape is straight and even to avoid disputes during gameplay.
- If you’re taping a temporary court, consider using chalk or masking tape instead of pickleball court tape.
Conclusion
Lining a pickleball court tape correctly is an important step in creating a safe and enjoyable playing experience. By following these simple steps, you can easily use tape for the pickleball court on your own and get ready to play pickleball. Whether you’re a beginner or a seasoned pro, a well-taped court is essential for a successful game!


