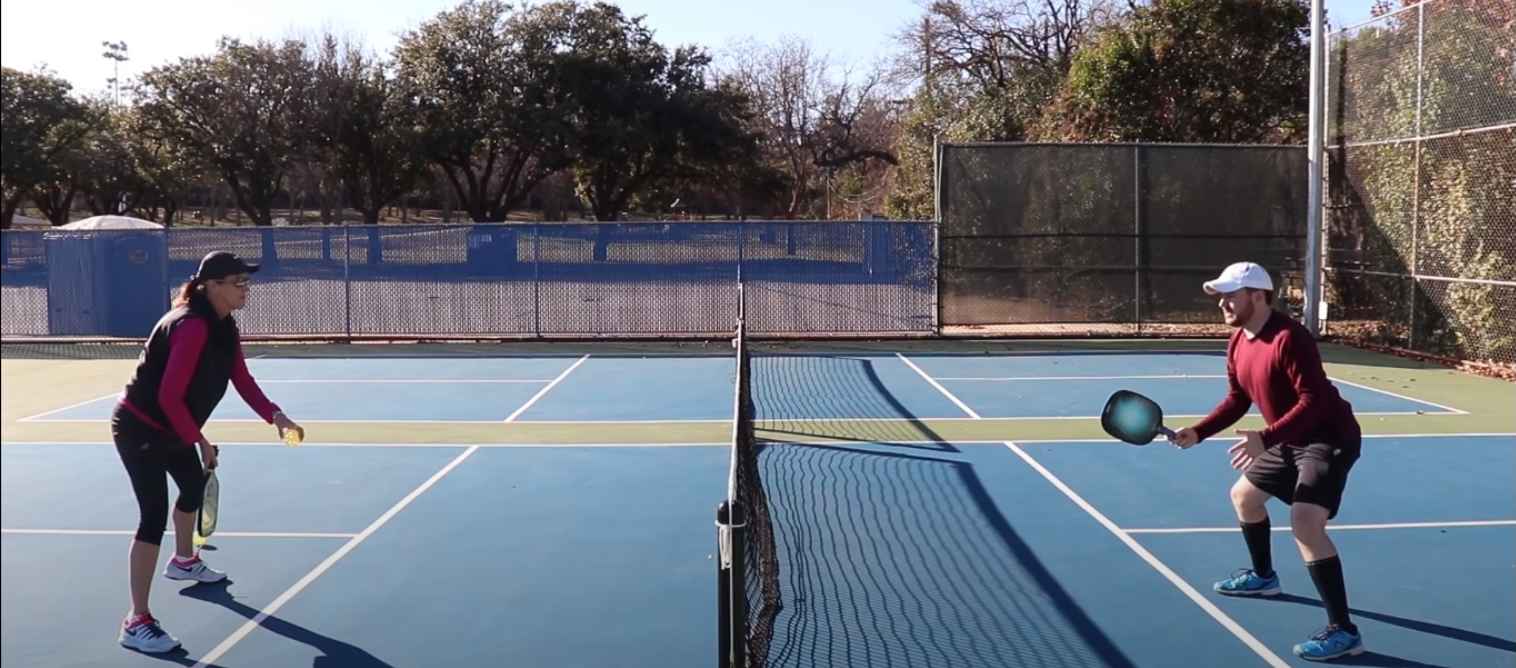
Looking to maintain a safe and high-quality pickleball court? Pickleball court paint can make all the difference. Are you planning to paint your pickleball court to have a visually appealing and aesthetic experience during the game? You can certainly do that, but it is more than just surfacing and painting lines with pickleball court paint.
To do Pickleball court painting on concrete, you’ll need to clean the floor and patch up any cracks. Then sketch out the playing area as per court dimensions and paint two coats of resurfacer to cover the concrete. Once the resurfacer is dry, apply two layers of paint on the court before painting the pickleball court lines.
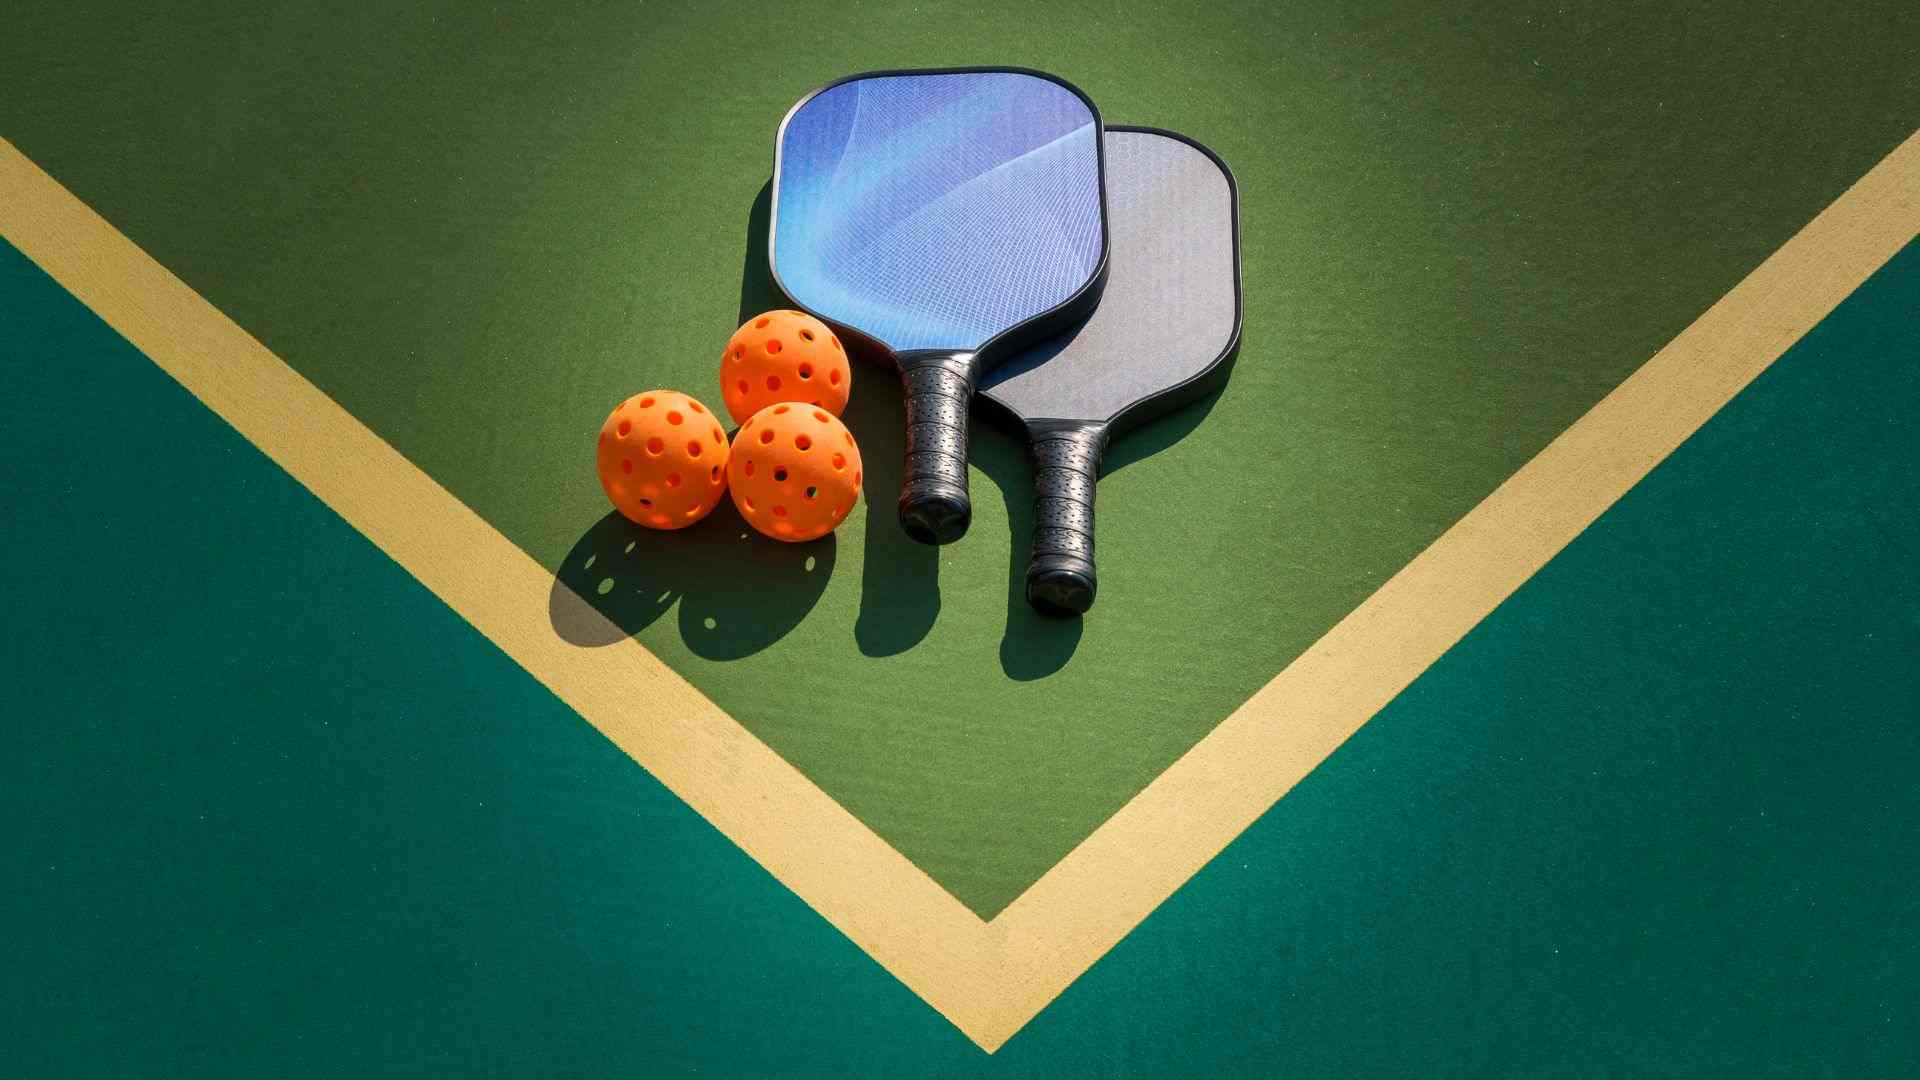
If you’re a fan of Pickleball, you know that having the right equipment is key to playing your best game. The most important piece of equipment is the court itself, and knowing how to paint pickleball court can make all the difference.
In this article, we’ll cover everything you need to know about painting a pickleball court and how to choose the right paint for your court. Discover the benefits of this specialized paint and which one is best for your court in this informative guide.
How To Paint A Pickleball Court On Concrete
Painting a pickleball court can be a comprehensive process to carry out if you think to do it yourself alone, although if done in a proper way, you may be playing Pickleball on your painted court on the very next day.
1. Estimate Pickleball Court Area
First thing first, you need to estimate the area that can you play pickleball on concrete . Using the pickleball court dimensions guide, you’re all set to set up your pickleball court. But keep in mind that for pickleball court paint, you must choose a pickleball court concrete surface that is flat, even, and has fewer cracks and cavities to avoid slipping for a better pickleball experience.
Pickleball courts are perfect for setting up in a playground or backyard because of their small size and easy setup, such as they can be done in a matter of minutes. It is possible to hire a court builder to install the concrete and pickleball court paint for you, but it is also possible to do it yourself. You should consider that if you are having a contractor pour the concrete for you, you can choose from a few different surfaces.
2. Choose Pickleball Court Surface
You can immediately start your pickleball court coating if you have chosen a concrete pickleball court where concrete is already in place and the pickleball court surfacing is done.
Conversely, you must wait for two or four weeks if you have used fresh concrete or asphalt on your court to avoid setting cracks on the court while painting, and for that first, you must know how to pour concrete for a pickleball court.
3. Clean The Surface
Now, you need to clean the surface to apply pickleball paint. You can do it by just using a broom or a power wash, but in the case of a water wash, you’ll have to wait for some time to paint.
4. Fill Cracks and Dips
The acrylic binder can be combined with cement or sand in order to fill any cracks in the surface of your court if there are any, as well as any uneven areas.
Also, fix the dips on your court, if any, because they can cause the ball to have an inconsistent bounce and the rainwater to dissipate slowly after the rain, which can cause the players to slip.
The next step is to use a pickleball court surface coating, which is capable of filling in the dips and covering the concrete repairs that have been made.
I would recommend using an acrylic resurfacer with silica sand of fifty to sixty mesh as it gives the surface an appearance similar to sandpaper. The same guidelines should be followed for an asphalt pickleball court.
When applying a color coat, the sandpaper-like finish is beneficial because it holds the color coat firmly to the surface, allowing the color coat to adhere better to the surface.
5. Use Acrylic Pickleball Paint
For outdoor pickleball court paint, USAPA recommends using acrylic pickleball paint with 100% acrylic content. This paint is also mixed with silica sand. However, unlike the resurfacer, the silica sand is more refined and shaped to make the ball speed better and also preserves the concrete well.
Court owners and pickleball players benefit from acrylic paints because they offer better traction and ball bounce. The long-lasting nature of these best pickleball court paint reduces the need for frequent painting by preventing it from washing away or deteriorating easily. Repairs are easy and inexpensive, and it’s an affordable coating option.
6. Choosing Pickleball Court Colors
Now, you choose the pickleball court paint colors but keep in mind that it should contrast with the court lines and the ball, and it should be heat reflective. Pickleballs are yellowish green, orange, or yellow, so painting a pickleball court in any of those colors are not recommended.
It is best to contrast the ball with dark greens, blues, and grays. You can pick any color for your court besides green and blue since many people do this to avoid the pickleball court looking like a tennis court.
7. Mark Pickleball Court Area
Now, to start the pickleball court painting, you’ll need to figure out the area of the pickleball court that is 20 feet wide and 44 feet long. It is recommended to paint the pickleball court slightly larger than measured to give an even finish all around, as players will step outside of the court while playing.
You can also read our guide on how to make a pickleball court.
In order to provide players with space to move and hit the ball from outside the court, the USAPA recommends a maximum playing area of 30 by 60 feet. You can use tape at the boundaries and masking paper on the other side to avoid excess paint from expanding.
8. Apply Resurfacer
Let’s apply the resurfacer now. The first thing you should do is pour the resurfacer on the ground from the other side of where your masking paper is so that you can move any extra resurfacer onto the paper without having to worry about stepping on the resurfaced area, which has already been done.
When you have poured the resurfacer onto the ground, take your squeegee and spread it over the area in front of you to cover it. A resurfacer is a good tool for evening out the surface if there is a dip in the surface. The playing area should be covered with the paint and then given at least one or two hours to dry in the sun.
Use the resurfacer twice to ensure there is no crack left behind. This will allow the paint to adhere smoothly to the surface.
9. Apply Pickleball Court Paint
Now coloring the pickleball court, you have two options to choose from either paint the entire court and the playing area in the same color or pick different colors for paint for pickleball court.
In the case of two different colors, use masking tape and paper to make lines so that one color does not get mixed with the other. Use the paint layer twice to ensure a dark color, and let the first layer dry before you apply the second layer.
Now remove the tape lines and apply the second layer of the paint after the first layer has been dried and set up completely to give an even finish to the entire area of the court.
10. Paint Pickleball Court Lines
Now, it’s time to paint the lines of the pickleball court. Apply the masking tape at the boundaries to avoid the paint or color of the lines spreading into the center of the court. Even painting pickleball lines on a tennis court can be easy if you follow the guide.
The next step you should take is to make sure that you tape around the court twice, leaving a two-inch gap between the tape lines inside the court. Mark the non-volley zone as well as the two blocks on both sides of the court with tape. The court lines can now be painted.
The pickleball court paint colors should be allowed to dry briefly before you remove the tape after painting the court. In warm, dry weather, the court should be left to dry for 24 hours.
Your brand new court is now ready to play after the whole pickleball court paint process. Grab a pickleball paddle, set up the net, and start playing it with a friend or someone.